Free shipping on US orders over $200100% authentic parts from official brandsEasy 30-day returnsSecure checkoutTop automotive brands in one placeFree shipping on US orders over $200100% authentic parts from official brandsEasy 30-day returnsSecure checkoutTop automotive brands in one place

My Account

Category: Garage Guides

  • Building Your First Home Garage Tool Kit

    Building Your First Home Garage Tool Kit

    You do not need a professional shop to handle oil changes, brake pads or battery swaps. A focused set of quality tools will cover most jobs on cars, trucks and motorcycles.

    The essentials

    • A 3/8-inch drive socket set in metric and SAE sizes with a good ratchet
    • Combination wrenches, ideally ratcheting
    • A torque wrench so wheels and critical fasteners are tightened to spec
    • A pair of rated jack stands — never work under a vehicle supported only by a jack
    • Pliers, screwdrivers, an oil filter wrench and a drain pan
    • A smart battery charger or maintainer and an OBD2 code reader

    Worth adding next

    • Impact sockets and a cordless or air impact wrench
    • A brake pad spreader and fluid transfer tools
    • Bright LED work lights and nitrile or mechanic gloves

    Safety first

    Wear eye protection, work on a level surface, chock the wheels and disconnect the battery before electrical work. Follow the torque specifications in your service manual — they exist for a reason.
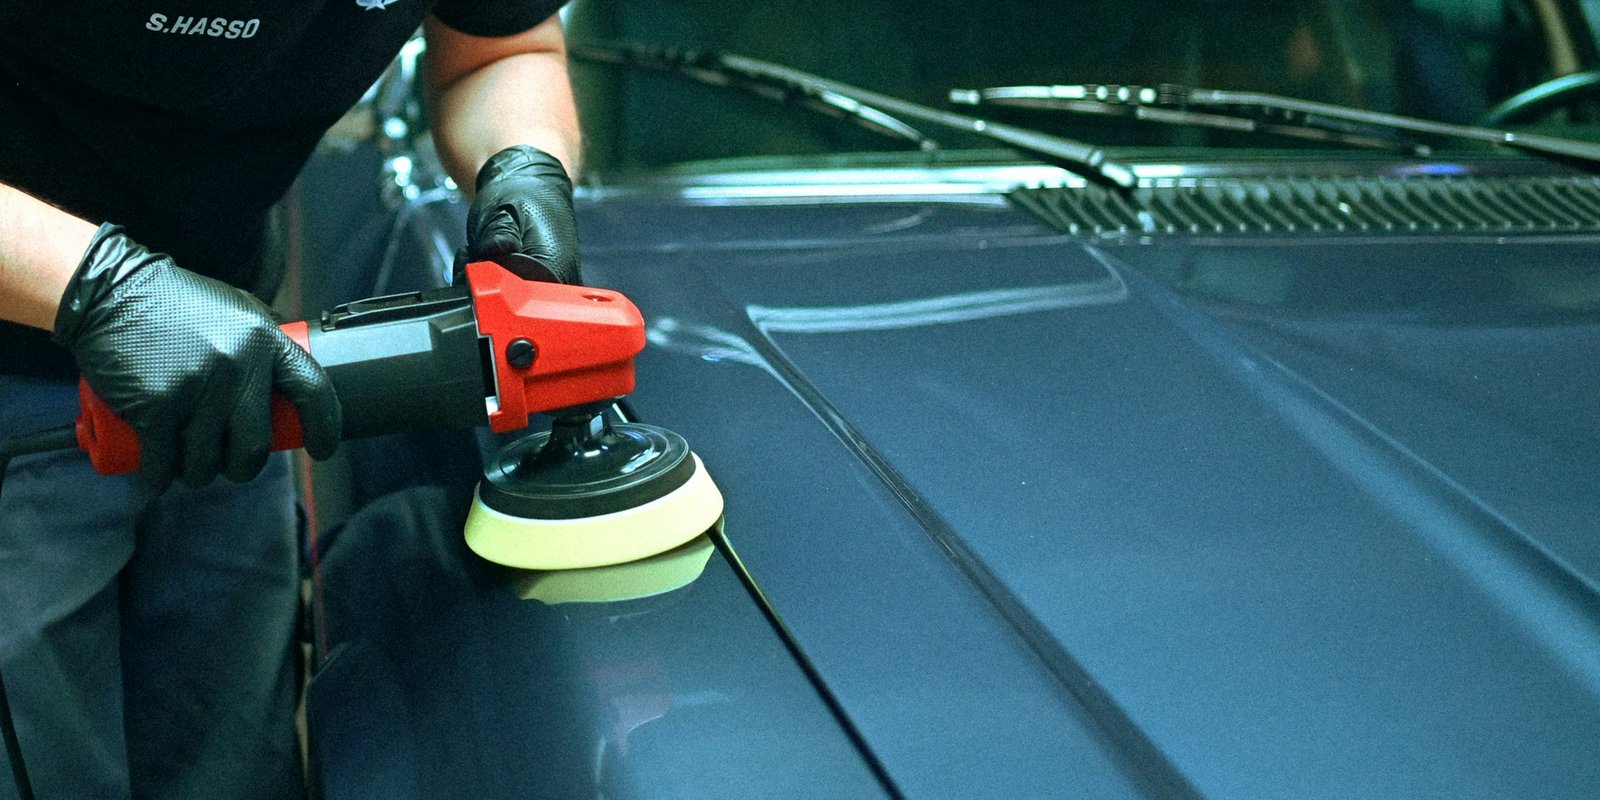
  • Car Detailing at Home: Wash, Decontaminate, Protect

    Car Detailing at Home: Wash, Decontaminate, Protect

    A good detail is less about expensive products and more about the order you do things in. Follow these steps and your paint will look better and stay protected longer.

    1. Wash safely

    Rinse the car first to remove loose grit. Use a pH-neutral car shampoo, two buckets (one for soapy water, one for rinsing the mitt) and wash from the top down. Dry with a plush microfiber drying towel instead of letting water spots form.

    2. Decontaminate

    If the paint feels rough after washing, it is holding bonded contamination. A clay treatment or iron remover lifts it so polish and protection can bond properly.

    3. Polish if needed

    Light swirls and haze can be removed with a fine polish on a dual-action polisher. Work small sections at slow speed and wipe residue with a clean towel.

    4. Protect

    • Carnauba wax: deep gloss, shorter durability
    • Ceramic sprays and waxes: easy to apply, months of water beading
    • Trim restorer for faded plastics and a dedicated interior cleaner for the cabin

    Repeat the wash every week or two and top up protection every few months to keep the finish looking new.

  • How Often Should You Change Your Oil? A Practical Guide

    How Often Should You Change Your Oil? A Practical Guide

    The old “every 3,000 miles” rule comes from an era of conventional oils and carbureted engines. Today most vehicles running a full synthetic can go much further between changes — but the right interval depends on your engine, your oil and the way you drive.

    Start with the owner’s manual

    Your manual lists the oil grade (for example 0W-20 or 5W-30) and a recommended interval for normal and severe service. Use that as your baseline and pick an oil that meets the specification listed for your engine.

    When to shorten the interval

    • Lots of short trips where the engine never fully warms up
    • Towing, hauling or frequent stop-and-go traffic
    • Very hot, cold or dusty climates
    • High-mileage engines that burn or leak some oil

    Do not forget the filter

    Replace the oil filter at every change. A quality filter holds more contaminants and keeps oil pressure stable between services. While you are under the hood, check coolant level and look for leaks around the drain plug and filter.

    Keep a simple log of date, mileage and oil used. It makes the next service easy to plan and adds value when you sell the vehicle.